Welcome to the Easy Swann Security Camera Installation Guide! Ensuring the safety of your home or business has never been more important, and Swann security cameras provide a robust solution to keep an eye on your premises. Swann is a global leader in security monitoring solutions and IOT (Internet of Things) and their products are designed to make it easy for you to look after everything and everyone you care about. Swann security camera installation instructions are straightforward, making it possible for you to set up your system with minimal hassle.
Before we dive into the step-by-step installation instructions, it’s essential to understand why choosing Swann security cameras can be one of the best decisions for your security needs. Swann cameras offer high-definition video quality, user-friendly interfaces, and a wide range of products to suit various needs and budgets. Whether you are looking to protect your home, small business, or large enterprise, Swann has a tailored solution for you.
Additionally, Swann’s commitment to innovation means that their cameras are equipped with the latest features, such as remote viewing capabilities, night vision, and motion detection. These features enhance your ability to monitor your property with ease, whether you’re on-site or away. With our comprehensive installation guide, you’ll be well on your way to enjoying the peace of mind that comes with a secure environment.
Ready to get started with your installation? Visit our website to learn more and get started today! In the following sections, we’ll cover everything you need to know from what’s in the box to the final touches of your camera setup.
Choosing the Perfect Spot for Your Swann Cameras
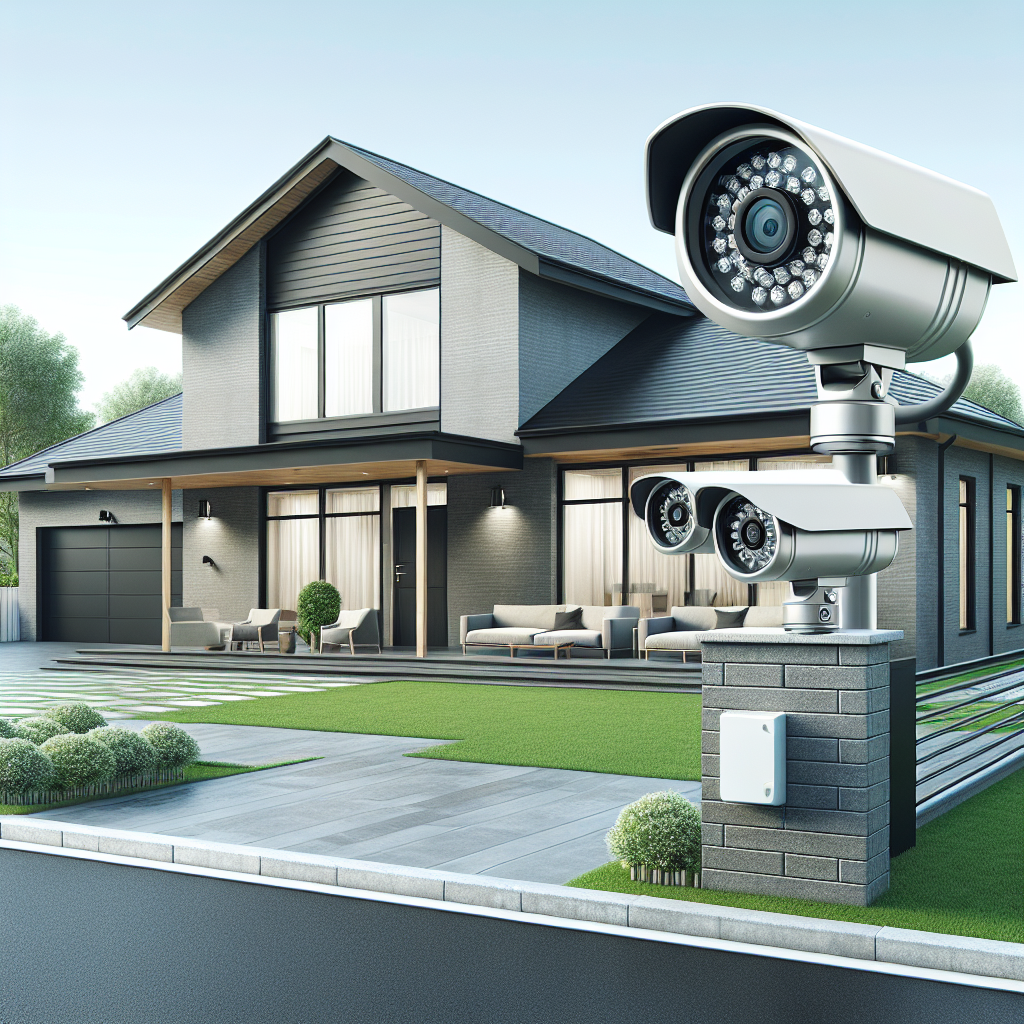
Finding the ideal location for your Swann security cameras is crucial for maximizing their effectiveness. The right placement not only ensures optimal coverage but also enhances the quality of the surveillance footage. To start, consider the key areas you want to monitor. These often include entry and exit points, such as front and back doors, windows, driveways, and garages. High traffic areas within your home or business should also be taken into account.
When selecting spots for camera installation, aim for a broad view while minimizing obstructions. Place cameras high enough to prevent tampering but within reach for maintenance. An elevated viewpoint also tends to offer a more comprehensive perspective, covering a wider area. Make sure to angle cameras away from direct sunlight to avoid glare, which can impair image quality.
It’s also vital to consider the camera’s range and the field of view. Swann cameras come with different lens sizes, affecting how wide or narrow a scene they can capture. Wide-angle lenses are ideal for covering large open areas, while narrower lenses may be better suited for focusing on specific points like doorways or gates.
Moreover, think about the lighting conditions of the chosen spots. While many Swann cameras have night vision capabilities, placing them in areas with good lighting conditions can significantly improve the clarity and detail of the recorded footage, especially at night. Lastly, ensure that your cameras are within range of a power source and your Wi-Fi network if they require a wireless connection. Understanding these aspects of camera placement will set a solid foundation for the next steps of your Swann security camera installation.
Unboxing and Understanding Your Swann Camera Kit
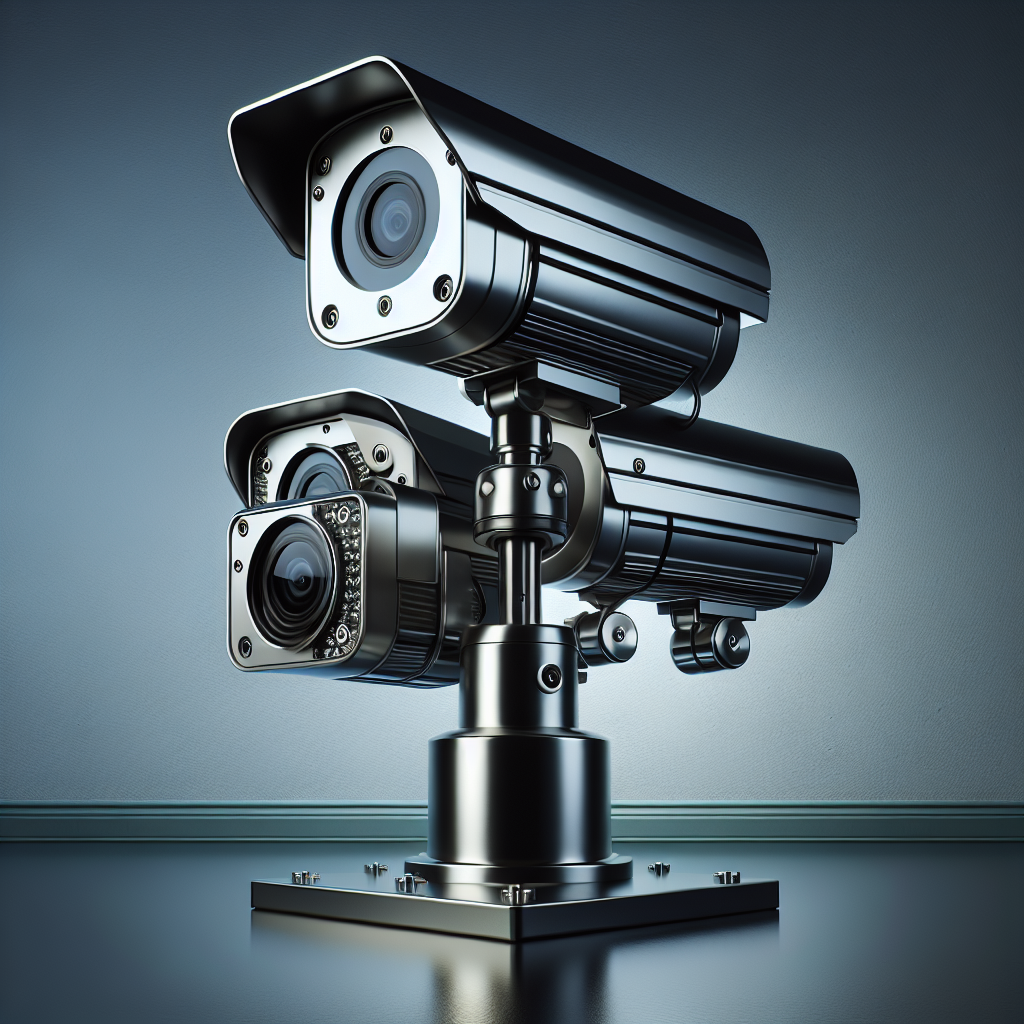
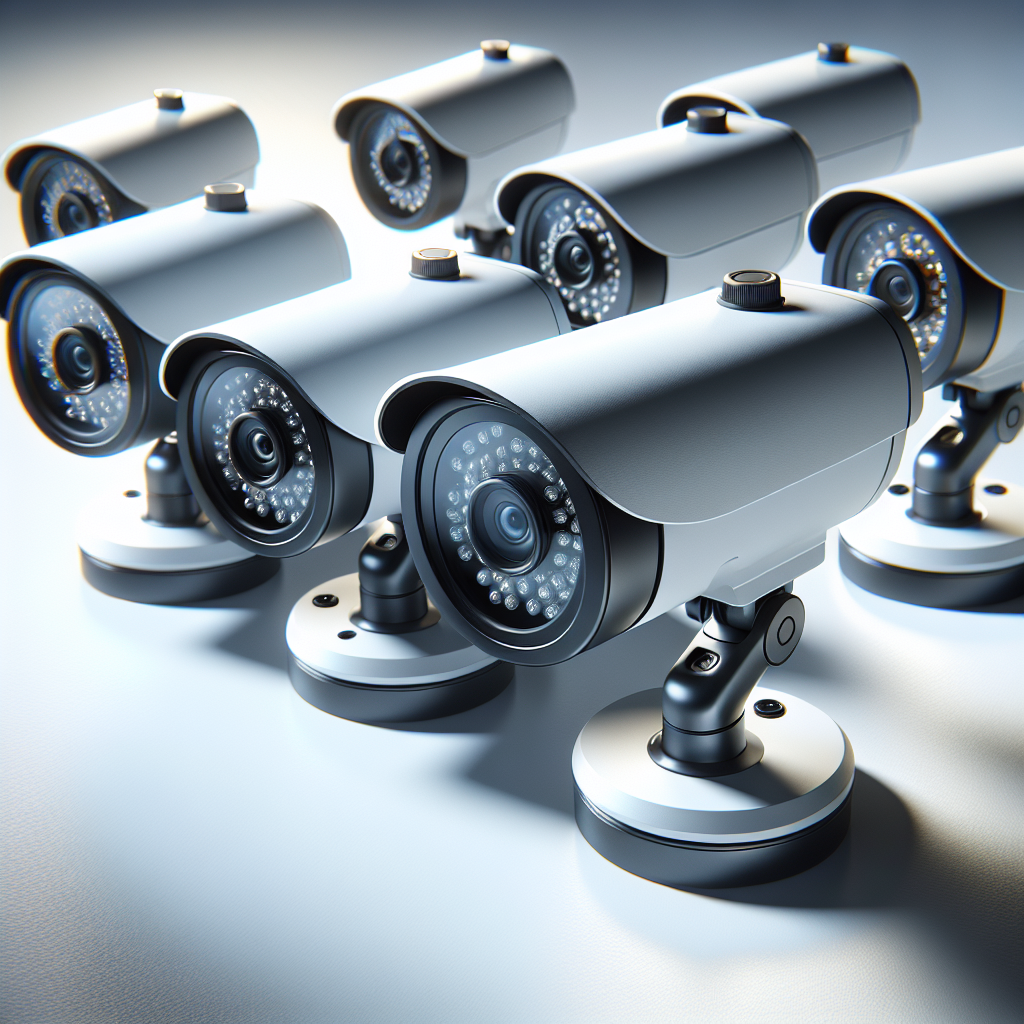
The anticipation builds as you unbox your new Swann security camera system. It’s essential to methodically check and understand the contents of your kit to ensure a smooth setup process. Inside, you’ll typically find the cameras themselves, mounting screws and plugs, a power adapter and splitter, Ethernet cables for wired models, and the DVR or NVR if you’ve purchased a recording kit. Some kits may also include window stickers and a quick start guide.
Take a moment to familiarize yourself with each component. Inspect the cameras for any physical damage and identify the adjustable mounting points, which will allow you to direct the camera’s field of view once installed. The power adapter and splitter are key for providing your system with the necessary electricity, and the DVR/NVR is the heart of recording and storing your footage.
Ethernet cables are crucial for establishing a reliable connection between the cameras and the recorder, especially for systems that do not operate over Wi-Fi. The mounting screws and plugs will help secure your cameras in their chosen locations. And, don’t overlook the window stickers; these can act as a deterrent to potential intruders, making them aware that your property is under surveillance.
Before moving on to the installation process, glance through the quick start guide. Swann’s guides are designed to offer clear swann security camera installation instructions and troubleshooting tips, helping you to become acquainted with your system’s features and setup requirements. This preparatory step ensures that you have all the necessary tools and knowledge to proceed confidently with installing your Swann security cameras.
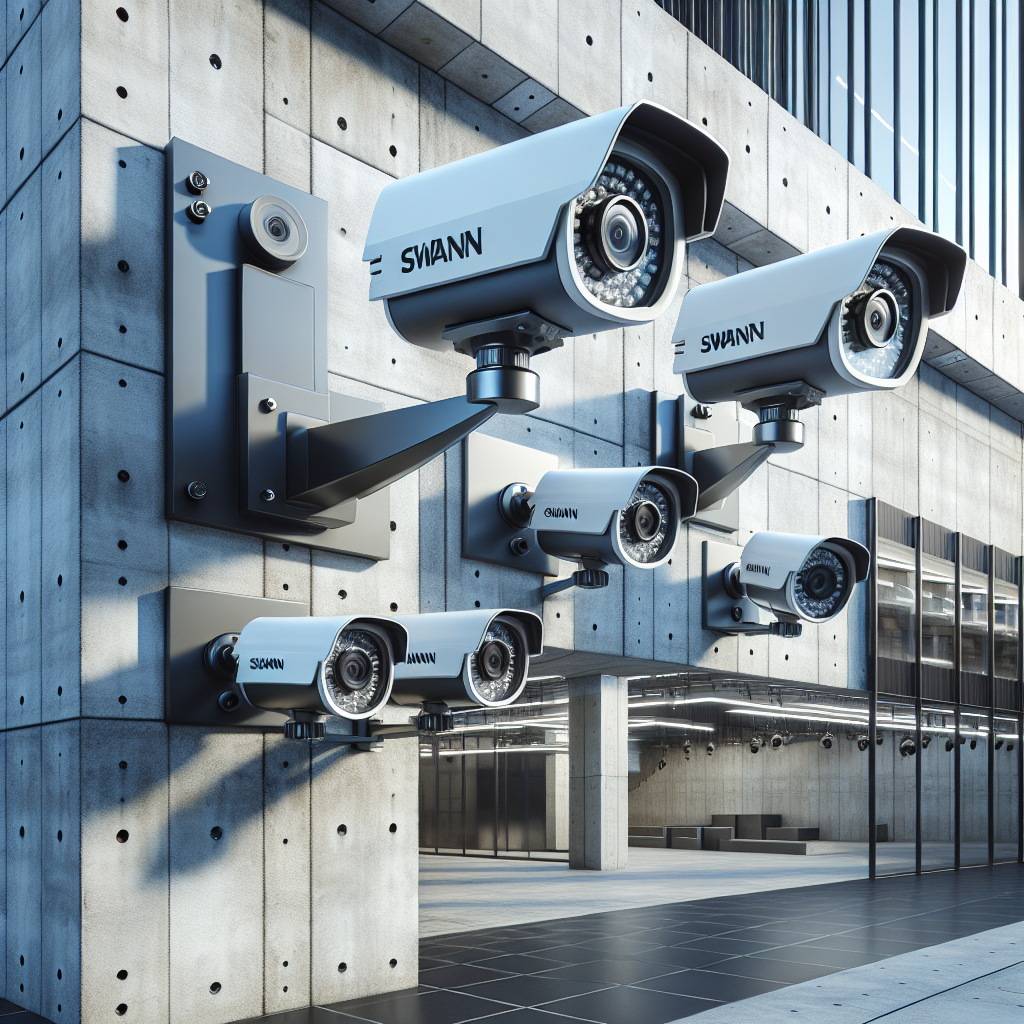
Step-by-Step Swann Camera Mounting Instructions
Mounting your Swann security cameras is a straightforward process when you follow these step-by-step instructions. Begin by deciding on the location for your cameras. You want to choose spots that provide a clear view of the areas you wish to monitor, such as entrances, driveways, or other high-traffic zones. Make sure to place the cameras out of easy reach to prevent tampering and consider the proximity to power sources if your system is not battery-operated.
Once the locations are selected, hold the mounting bracket against the wall or ceiling and mark the drill points with a pencil. Drill holes on the marked spots, insert the wall plugs, and then secure the bracket with the screws provided. For a proper installation, it’s crucial to use a drill bit of the correct size for the wall plugs.
With the bracket firmly in place, attach the camera by aligning it with the bracket’s mounting points. Most Swann cameras come with a three-axis adjustment design, allowing you to rotate and angle the camera for optimal coverage. After positioning the camera, tighten the screws to ensure it’s secure and has the desired field of view. Repeat this process for each camera in your system.
It’s important to note that if you’re installing wired cameras, you should run the Ethernet cables to the DVR or NVR before securing the cameras in place. Ensure that cables are neatly tucked away and protected from the elements when running them outdoors. For wireless cameras, ensure that your chosen location has a strong Wi-Fi signal to maintain a stable connection.
The final step involves connecting the cameras to the power supply and to the recording device, if applicable. Once everything is connected, it’s time to power up the system and adjust the camera settings through the Swann security app or the DVR/NVR’s interface. This way, you’ll ensure that the camera angles are precisely as you need them for the security of your home or business.
Wiring and Powering Your Swann Security Cameras
After mounting your Swann security cameras, the next critical step is to wire and power them correctly to ensure they operate seamlessly. For wired systems, your Swann security camera installation instructions will outline the specific wiring pathway from the camera to the DVR or NVR. Start by routing the BNC or Ethernet cables from each camera back to the recording unit. It’s essential to plan the route carefully to avoid tripping hazards or potential damage to the cables. Use cable clips to secure the wiring along walls or within protective conduits, especially if the cables are running outside.
When handling the cables, be gentle to avoid kinks or breaks that could impair the signal quality. If you’re extending the cables beyond the length provided in the kit, ensure you use Swann-approved accessories to maintain signal integrity and avoid voiding the warranty. Once the cables are in place, connect them to the corresponding ports on the back of the DVR or NVR, paying close attention to the input numbers to make future troubleshooting easier.
Powering your Swann cameras can be done through a power adapter or Power over Ethernet (PoE), depending on the model. If using a power adapter, plug each camera into an electrical outlet or power strip. For PoE cameras, the power is supplied through the Ethernet cable, eliminating the need for a separate power source, which simplifies installation and reduces cable clutter.
Ensure that your power sources are reliable and consider using an Uninterruptible Power Supply (UPS) for your DVR or NVR to provide backup power in case of outages. This will keep your security system active and recording, even when the power is down. Once all connections are made, and the power is on, your cameras should be operational. Use the Swann security app or your DVR/NVR to check each camera’s feed and verify that they’re receiving power and transmitting video as expected.
Proper wiring and powering are crucial for the longevity and effectiveness of your Swann security system. Take the time to do this step correctly, and you’ll enjoy a robust security setup that provides peace of mind and enhances the safety of your premises.
Configuring and Testing Your Swann Camera Setup
The final phase of your Swann security camera installation involves configuring and testing your system to ensure it’s fully operational. Begin by turning on your DVR/NVR and connecting it to a monitor or TV using an HDMI or VGA cable. Follow the on-screen setup wizard to configure basic settings such as the date, time, and password. Next, install the Swann Security app on your smartphone or tablet to access your cameras remotely. Create an account and add your DVR/NVR using the on-screen QR code or manual entry of details.
Once the initial setup is complete, it’s time to fine-tune your camera settings. Adjust the camera angles to cover the desired areas effectively. If your Swann cameras have adjustable lenses or zoom capabilities, make sure to set these to capture the optimal field of view. Test motion detection features by walking through the camera’s field of view to see if you receive alerts. Adjust the sensitivity settings as necessary to reduce false alarms.
In the app or DVR/NVR menu, you can also set up recording schedules, enable push notifications, and configure privacy zones if your camera supports these features. It’s advisable to conduct a ‘dry run’ of your security system by simulating various scenarios—like movement at different times of the day, light changes, and potential weather conditions—to ensure the cameras perform as expected under different circumstances.
Finally, review the recorded footage to confirm that the image quality meets your expectations and that the system is recording without any issues. Check the storage capacity to ensure there’s enough space for continuous recording, and set up or verify that the auto-overwrite feature is functioning if needed.
Once you are satisfied that your Swann security camera system is correctly configured and tested, you can rest assured that your property is being monitored effectively. If you encounter any challenges during the installation process or require expert advice on optimizing your system, visit our website to learn more and get started today! Click here. Our team at Rapid Voice Data Solutions is ready to assist you with the best infrastructure wiring and equipment installation to meet your security needs.